There is so much electronics hardware out there it’s overwhelming and one thing we had noticed at DSPRobotics is that most of it is designed by engineers for engineers! Meaning it is over complicated, difficult to use, hard to program, and on most cases aimed at adults even if they said it is suitable for children or students.
We have tested most of it, and even written an abundance of magazine articles about how to program it, the truth is it’s all really hard! We wanted to make things simple and easy to learn yet have the ability to expand and grow with it.
Examples:
Raspberry Pi
 Raspberry Pi – Single Board Computer
Raspberry Pi is great if you don’t have a computer already but remember you will need an HDMI Monitor, Keyboard, Mouse, Power Supply, SD Card etc. Which adds to the cost plus it runs Linux which you may not be familiar with?
You can run Scratch and Python on it (which you can also run on any PC) but if you want to interface to the outside world for Physical Computing & Robotics: it suddenly gets complicated, you need to know about electronics, protocols, and read lots of chip datasheets: ie. Voltage & Current Levels, I2C, SPI, GPIO addressing etc. In fact all of this stuff was exactly the same on FlowPaw only we have done it already for you so it just works out of the box!
Arduino
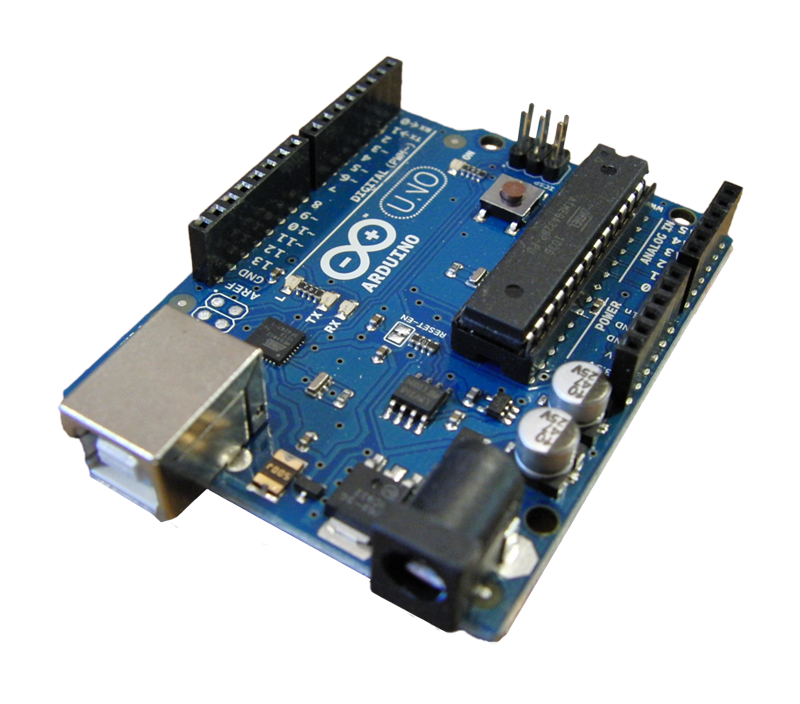
Arduino Uno – Microprocessor Board
The Arduino boards are simple microprocessor boards with a processor chip that you can program using the Arduino programming language which is a bit like C++.
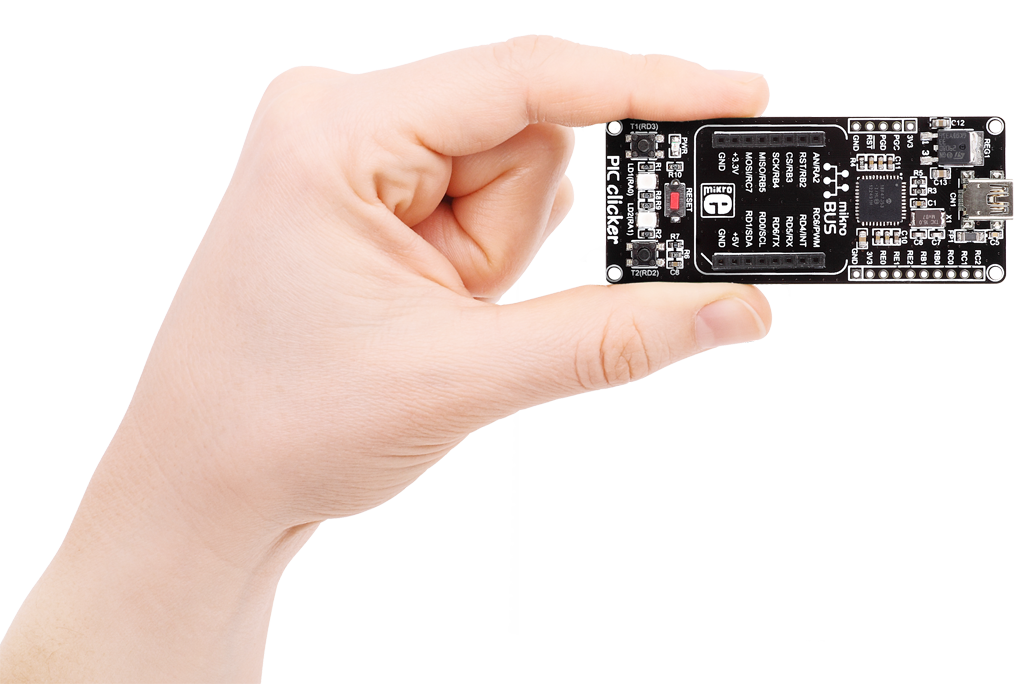
These are great if you want to make an LED flash on and off, but if you want to do anything more complicated you are back in the realms of needing to know a lot about low level programming, electronics, protocols and data sheets. Also you have to write your program in a text editor then download it into the chip , if it doesn’t work first time you have no way of knowing why? You have to go back to your text based code and try and figure it out, in contrast FlowStone runs in real time as you program you get to see the numbers changing and your code at work, making it easier and quicker to develop.
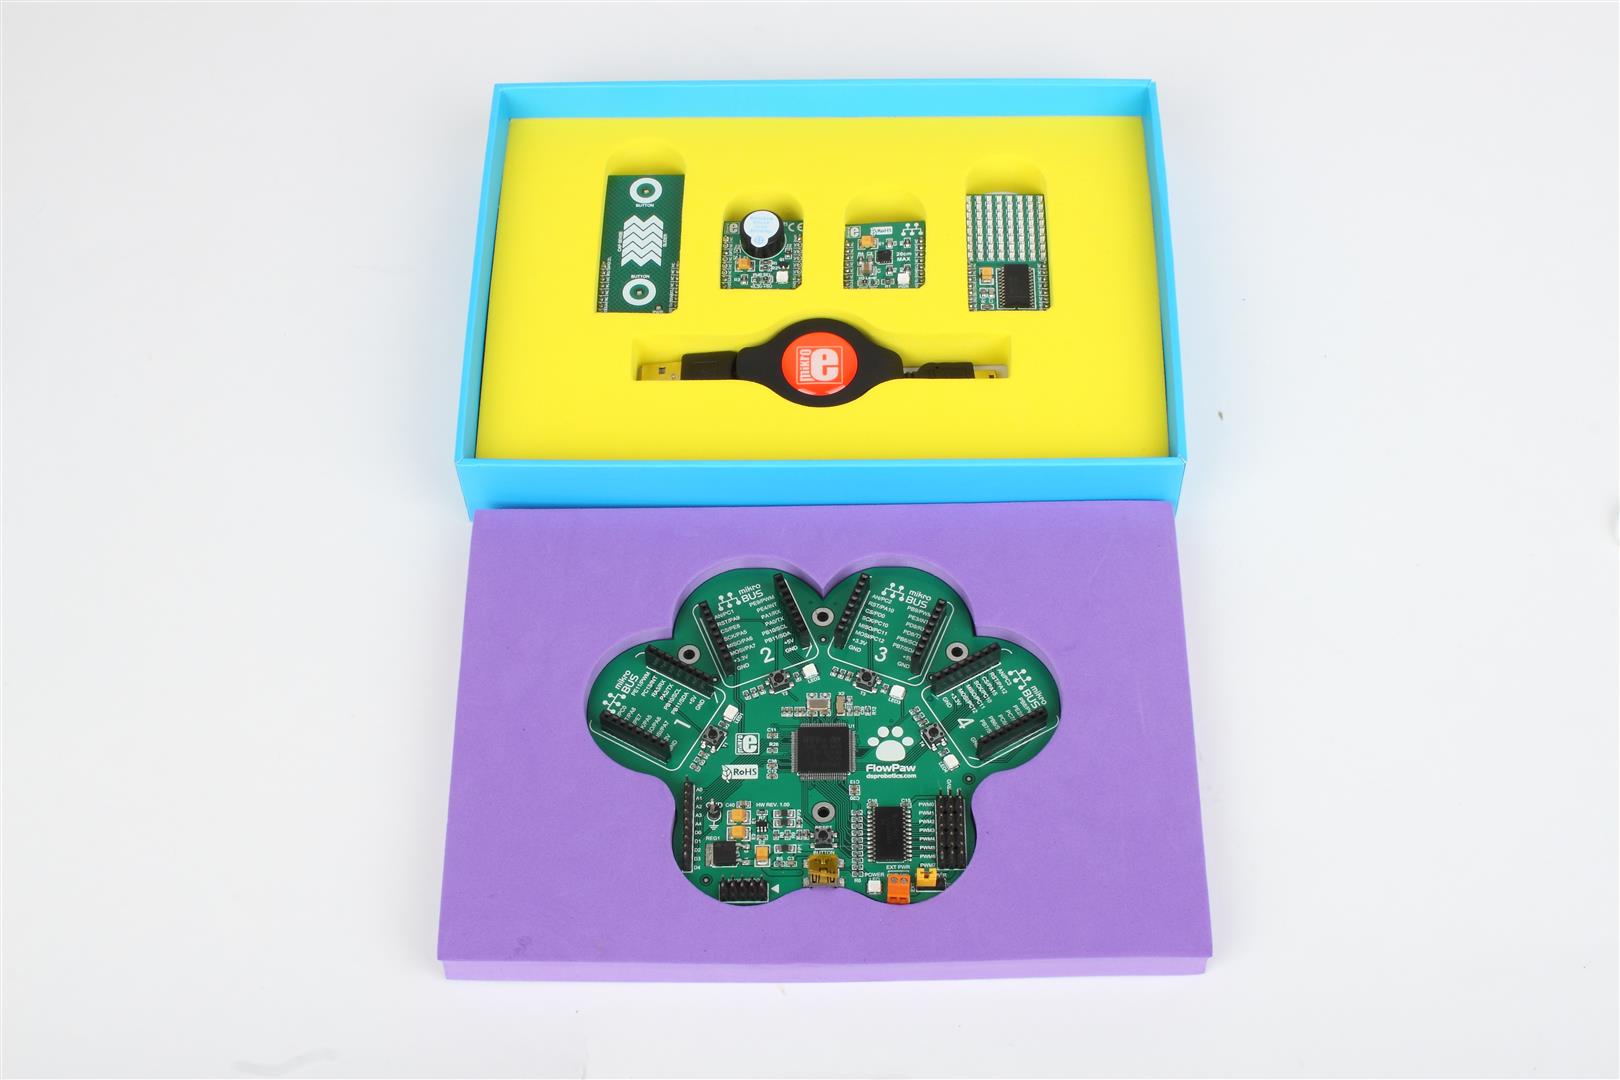
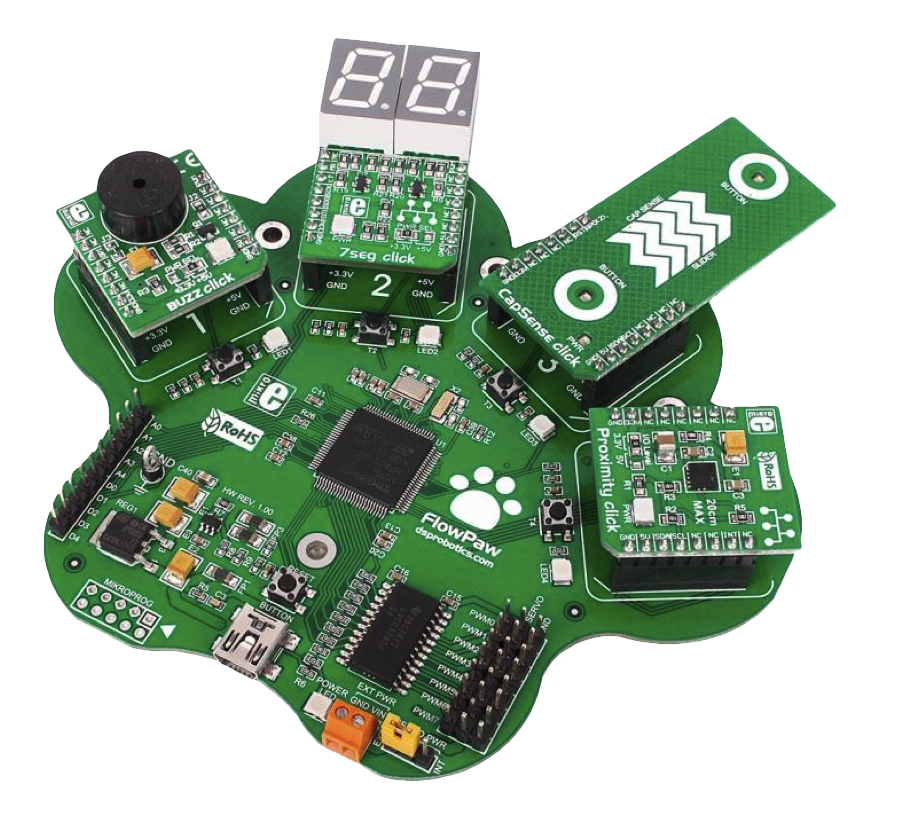
This is where we came up with the FlowPaw concept: a Hardware + Software combination!
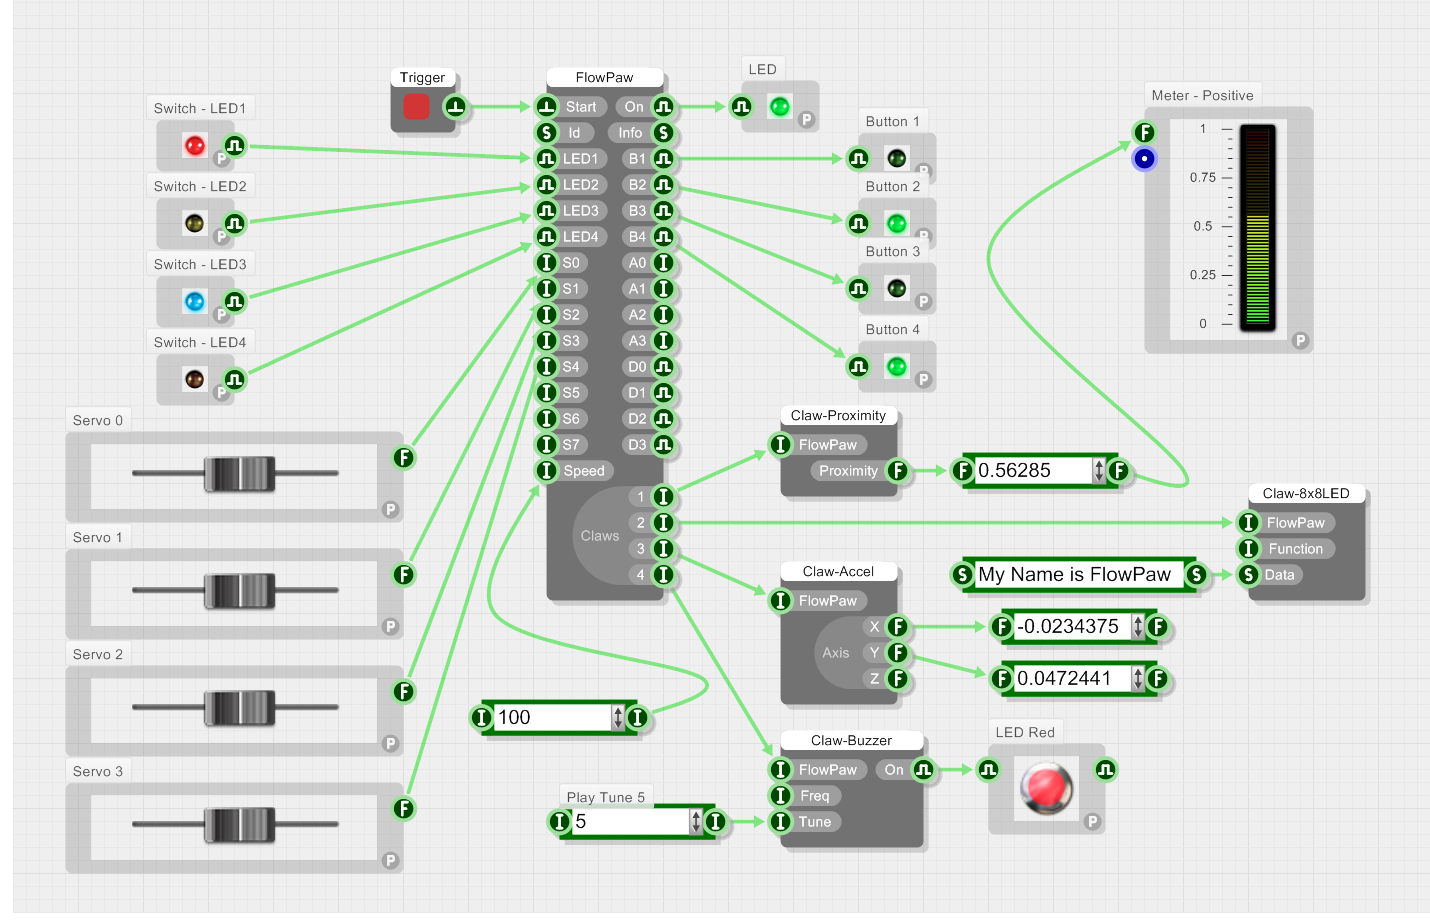
Here’s what programming in FlowStone looks like.
It is the best of both worlds, FlowPaw connects directly to your PC via USB, it’s plug and play, no external power is need. It has a microchip on board, only far more powerful than the Arduino, however we have done the low level chip programming for you so it just works! Then you can control the board using FlowStone which is a joy to use as it combines both Graphical Programming and code based programming all in the same elegant development environment allowing you to grow at your own pace.