
Today we tested several rover chassis for the FlowPaw rover kit:
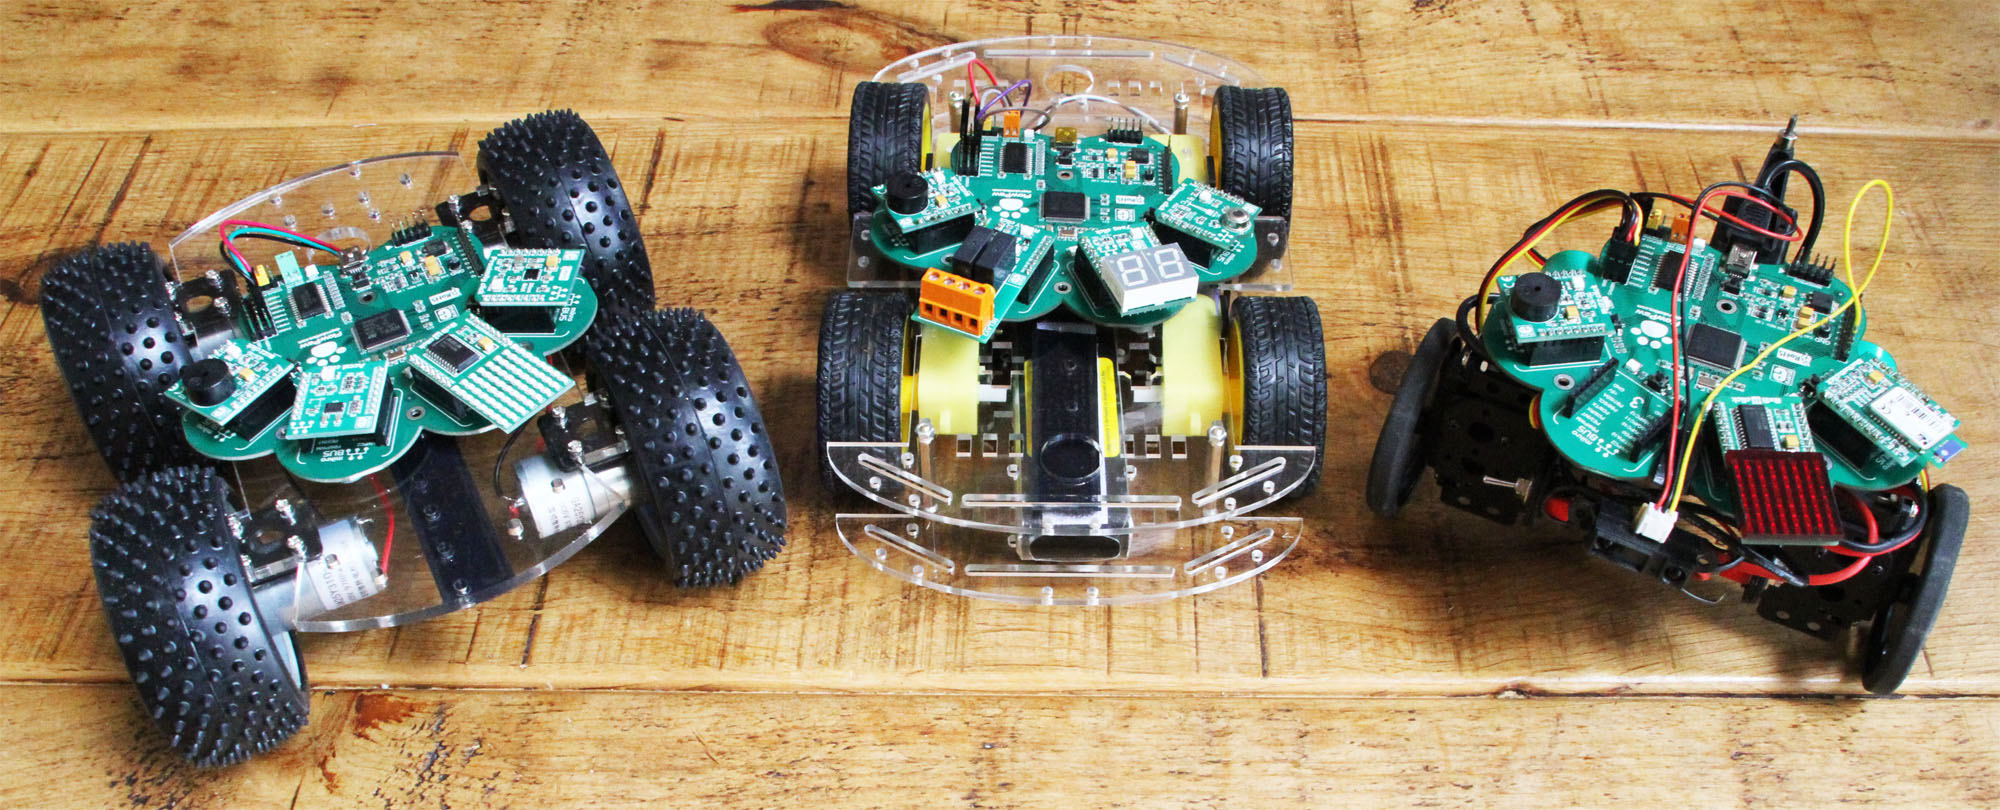
See how we got on…
Rover 1 – LynxMotion Rover (Part of the Servo Erector Set)
+ve points: Works really well, very maneuverable, uses continuous motion servos that connect directly to the FlowPaw board (no motor controller needed). Works well on all surfaces (carpet and hard floor).
-ve points: A little small for the FlowPaw board if you want to mount anything else.
Rover 2 – Yellow Rover
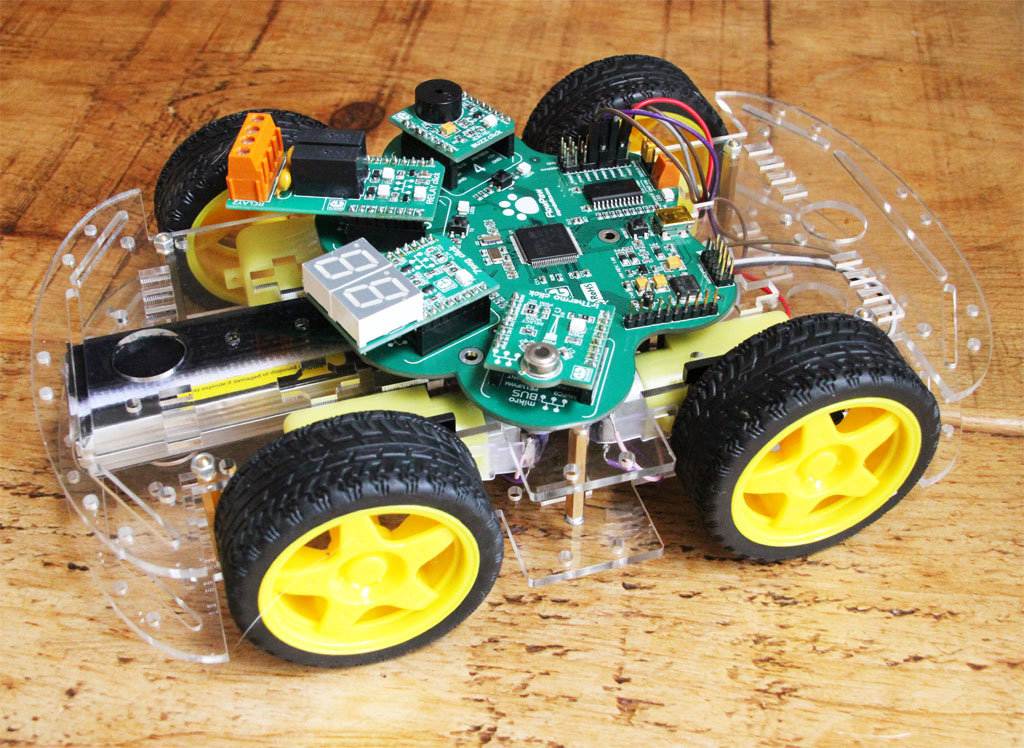
+ve points: Works really well, very maneuverable, and fast, good price, lots of space for other components. Works well on all surfaces (carpet and hard floor).
-ve points: Needs a separate Motor controller, motors not pre-wired (soldering required)
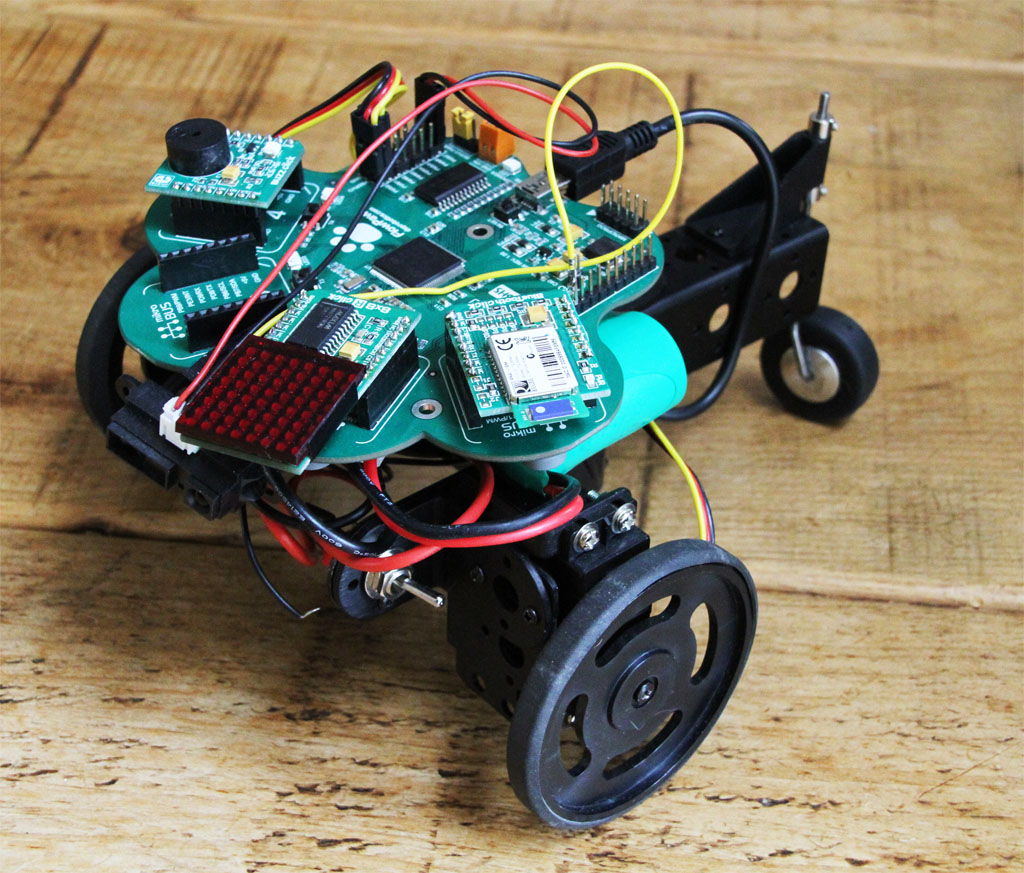
Rover 3 : Blue Rover
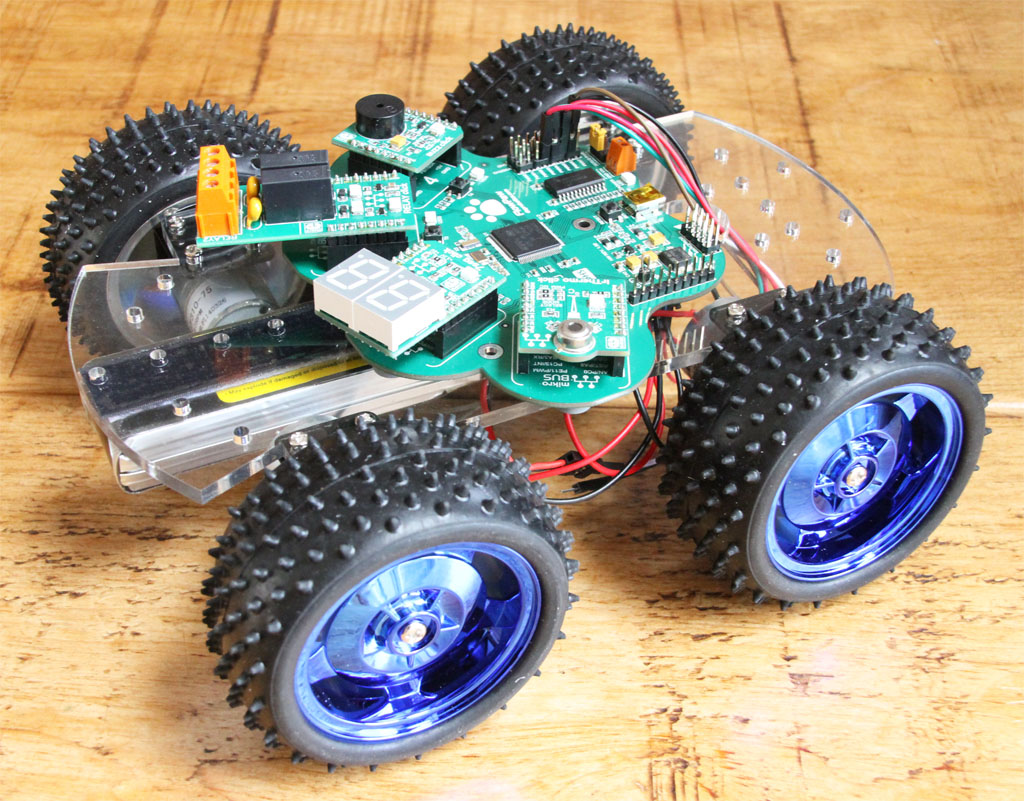
+ve points: Looks cool, fast, lots of space for other components.
-ve points: Needs a separate Motor controller, doesn’t work on carpet (the wheels are too knobbly and wont skid – needed for turning), motors are pre-soldered with wires, expensive.
So the winner is : Rover 2 – The Yellow Rover!
Here’s the FlowStone code we used to control it using an Xbox games controller:
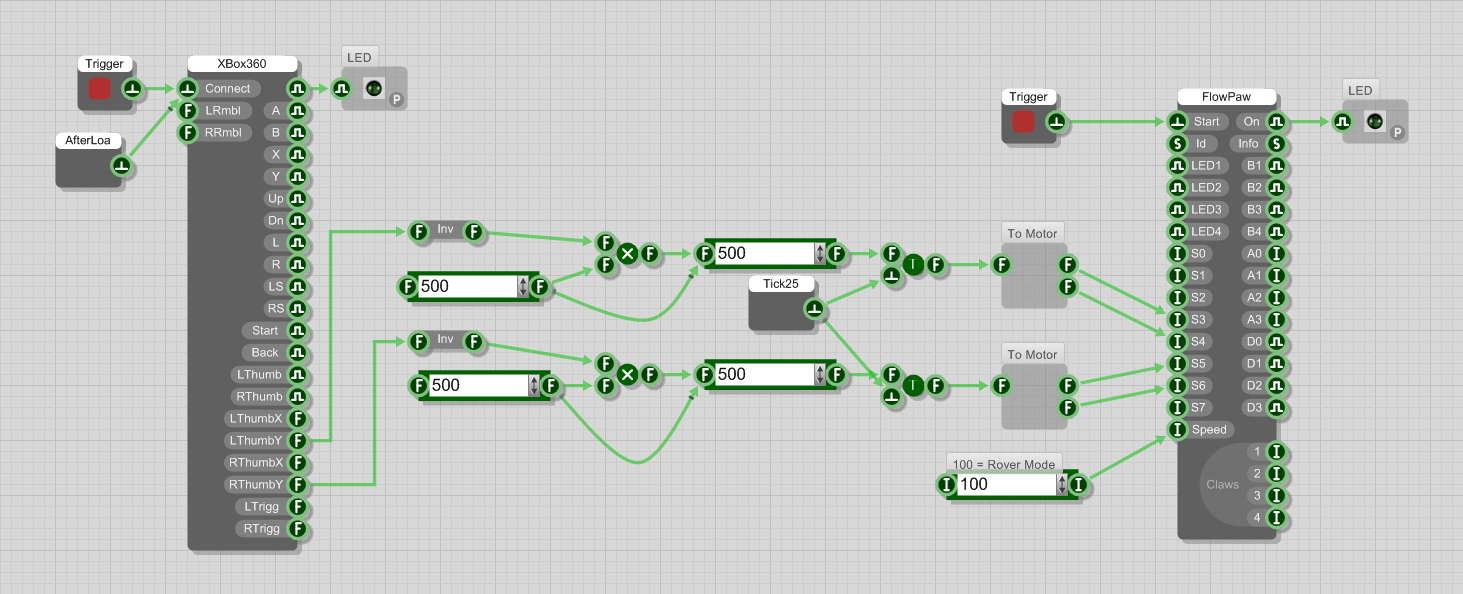
- Input S3 = Left wheels Forwards
- Input S4 = Left Wheels Backwards
- Input S5 = Right Wheels Forwards
- Input S6 = Right Wheels Backwards
The “yellow motor chasis” is great and very low cost. I used one to make a XBot robot that uses Flowstone and an XBox360 controller.
The difference with the Yellow rover above is that it is using 4 motors rather than the usual 2. This makes for slightly more demanding (challenging) motor control. I have found that there are a few different versions of the yellow motors, each with different gear ratios. In general I think that the higher gear ratio versions are more suitable since they rotate more slowly so are easier to control and provide higher torque. Matching the speeds of the motors could still be a bit of challenge since these yellow motors are not built to a high matching tolerance when it comes to performance. So getting the rover to move in a straight line could be difficult unless rotation counting is also incorporated. However these chassis do come with the facility to mount sensors that can count rotations of the wheels.
I look forward to seeing a video of the first Yellow Rover trials!
The motors seem actually quite well matched on our yellow rover. We have made a new ‘Rover Mode’ in the latest FlowPaw Firmware that sends out proper motor PWM on four of the servo pins @ 10Khz. These 4 channels of PWM go into a motor controller which has two motor drivers (left and right), each driver connects to the two motors on that side in parallel which I guess aids the matching as the receive exactly the same signal & current.
Since we have full proportional control using PWM you can drive it slowly or fast and turn on a dime!
Great site, Thanks for sharing!!
Do you have any screen shots of the code used to power the rovers?
ok, I’ll post a screen shot.
Note the Motor Speed is @ 100 = Rover Mode which makes servo inputs 3,4,5,&6 work as Motor PWM @ 10Khz not Servo PWM (This is only in the new firmware v6).
For the demo we used an Xbox games controller to drive the rover, but it would be a simple job to add a couple of the infrared distance sensors on the front and make it autonomous!
1. How do you implement the wireless USB?
2. What is the 2-input / 1-output object before the “To Motor” blocks? I Looked through all 457 and couldn’t see it!
3. What motor controller did you use?
Ok, I worked out the remote control bit. After spending ages looking for a USB to USB wireless link gizmo I came to the conclusion that they dont exist! So I took another hard stare at the photo and saw that you are using a Bluetooth Click module.
So what Flowstone Elements do you need to use to get the control coming in over Bluetooth? Methinks you have hacked it, since there is nothing showing on the diagram above!
You just need the latest firmware & the Bluetooth Claw.
We used a L298N Motor Controller, the great thing is it also has 5V dc out to power the Paw.
We are also working on using a Raspberry Pi as a WiFi wireless solution for the FlowPaw (testing right now).